Faster path from Cursor to Claude Code
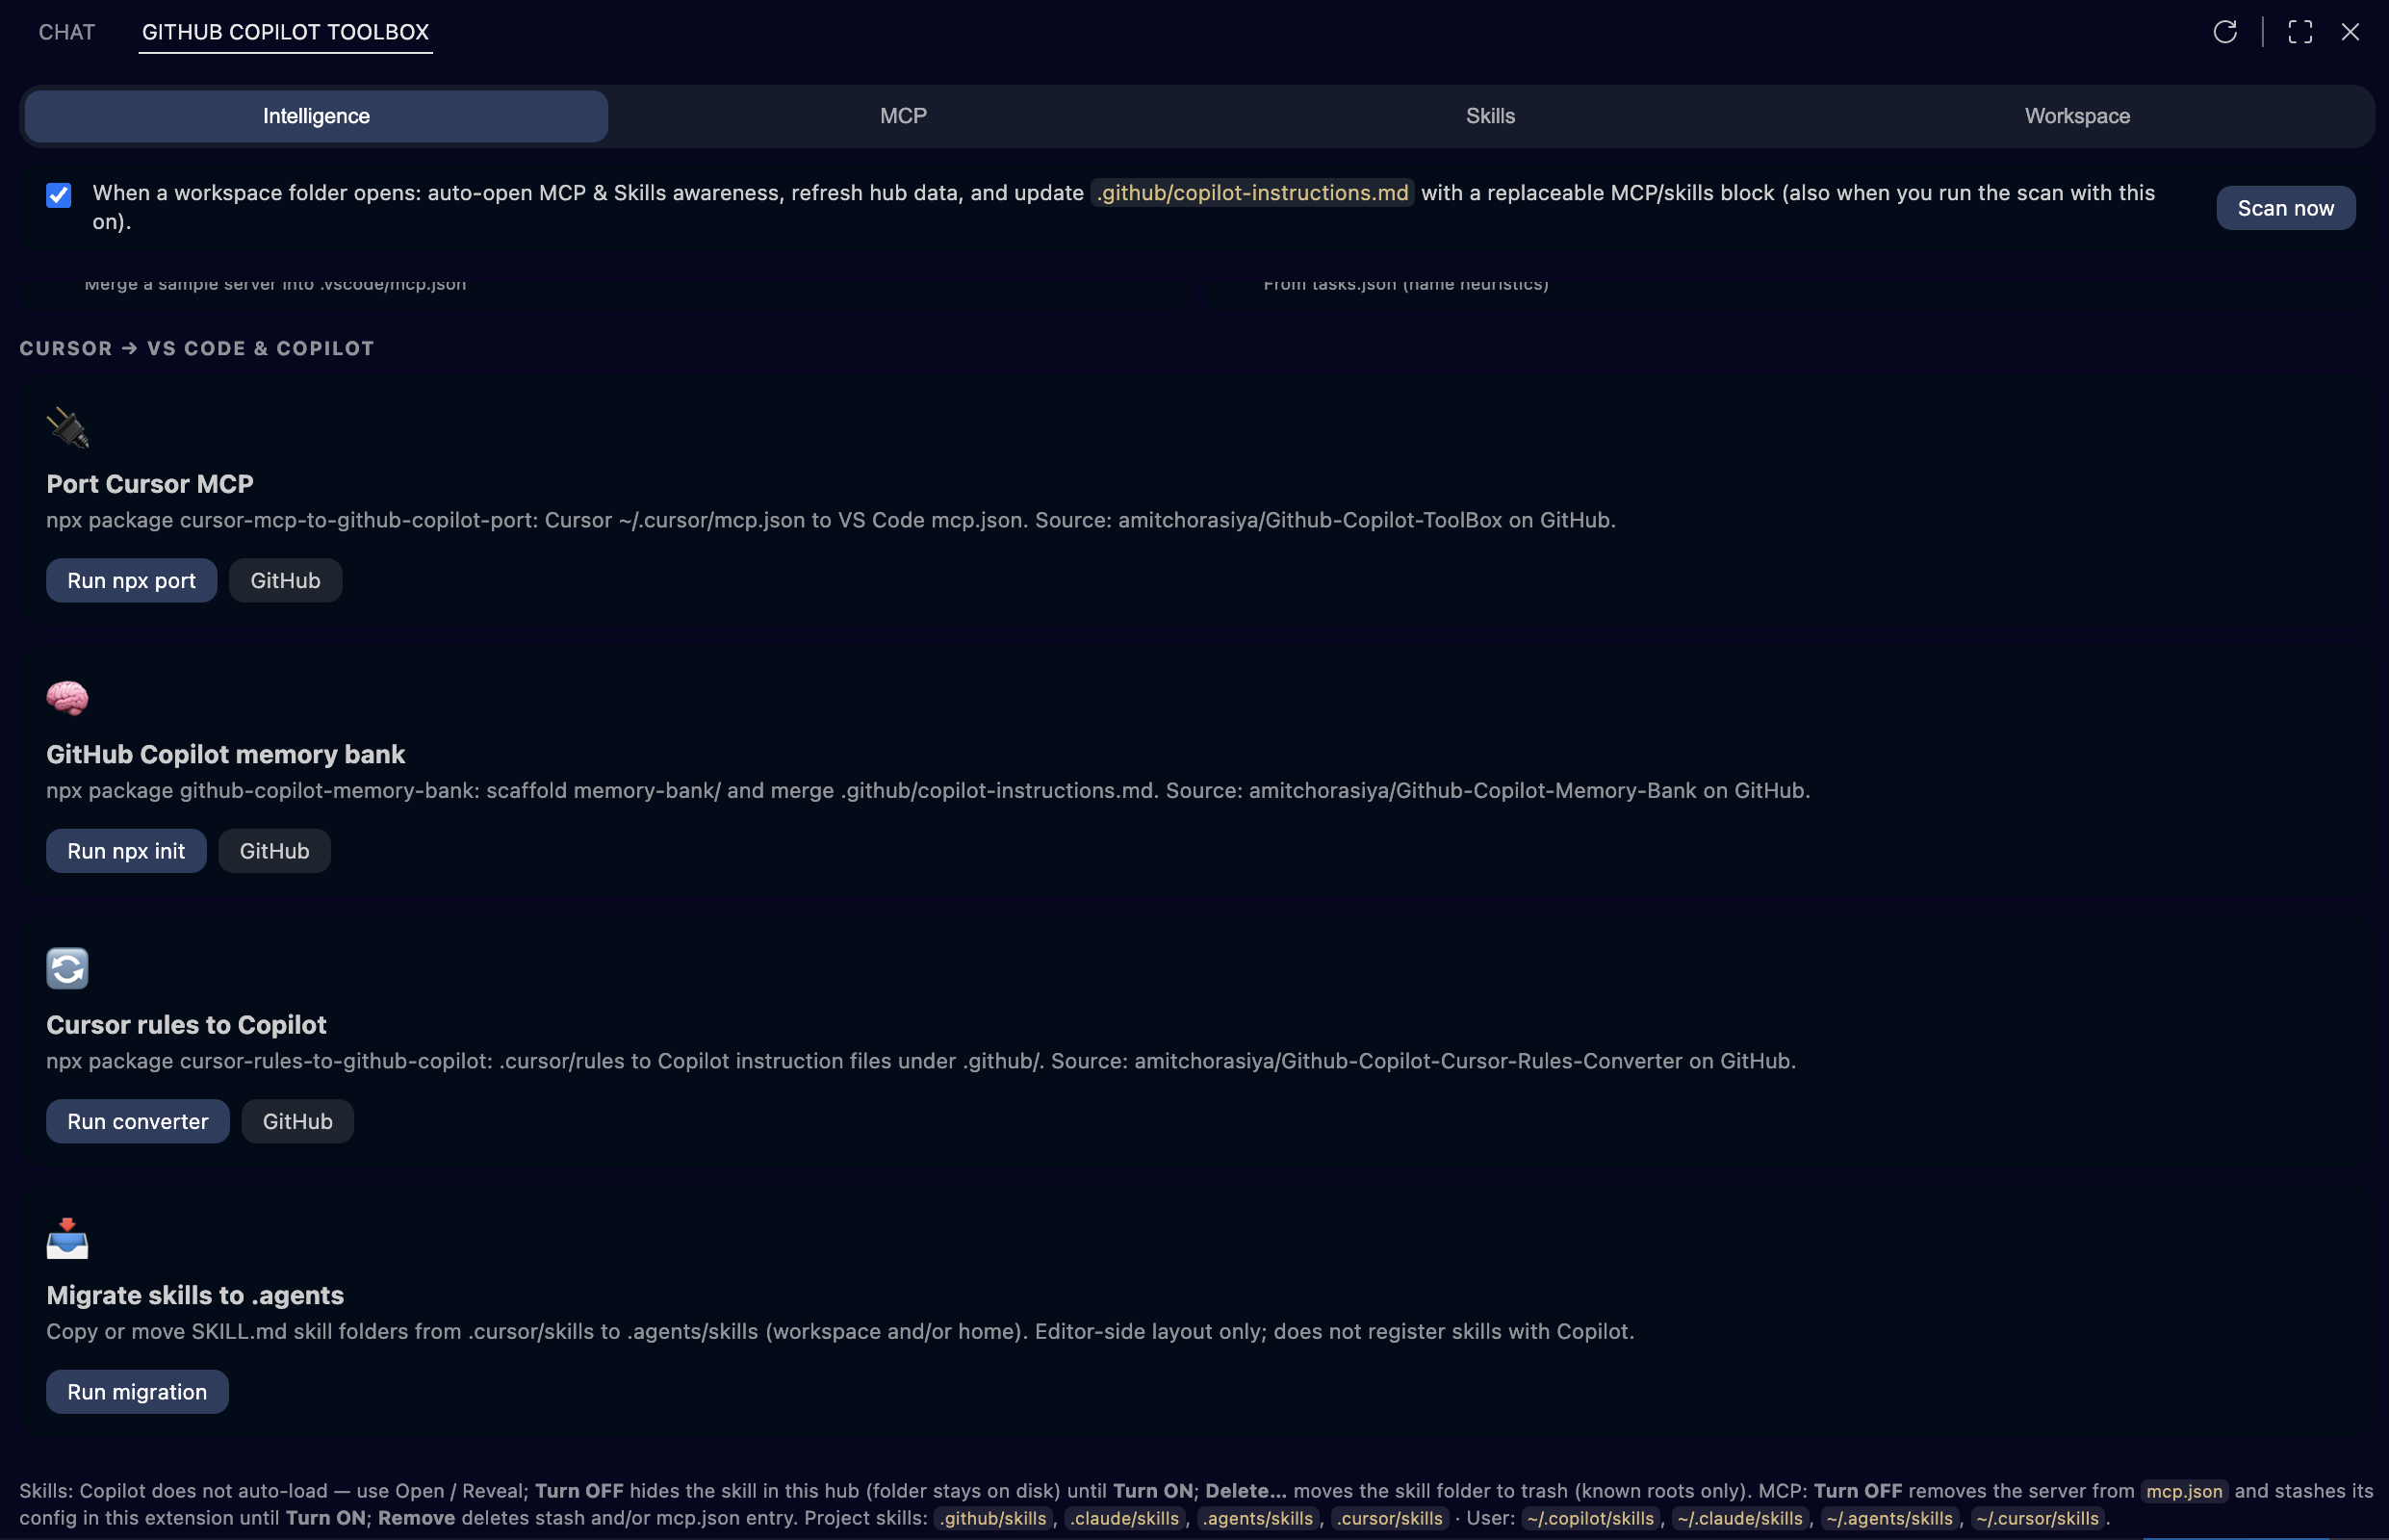
Guided actions to port connections (MCP), rules, and scaffold a memory bank—without memorizing file formats.
Stop losing time to scattered rules, MCP config, and “skills” folders. Give your team a single, honest view inside VS Code.
Guided actions to port connections (MCP), rules, and scaffold a memory bank—without memorizing file formats.
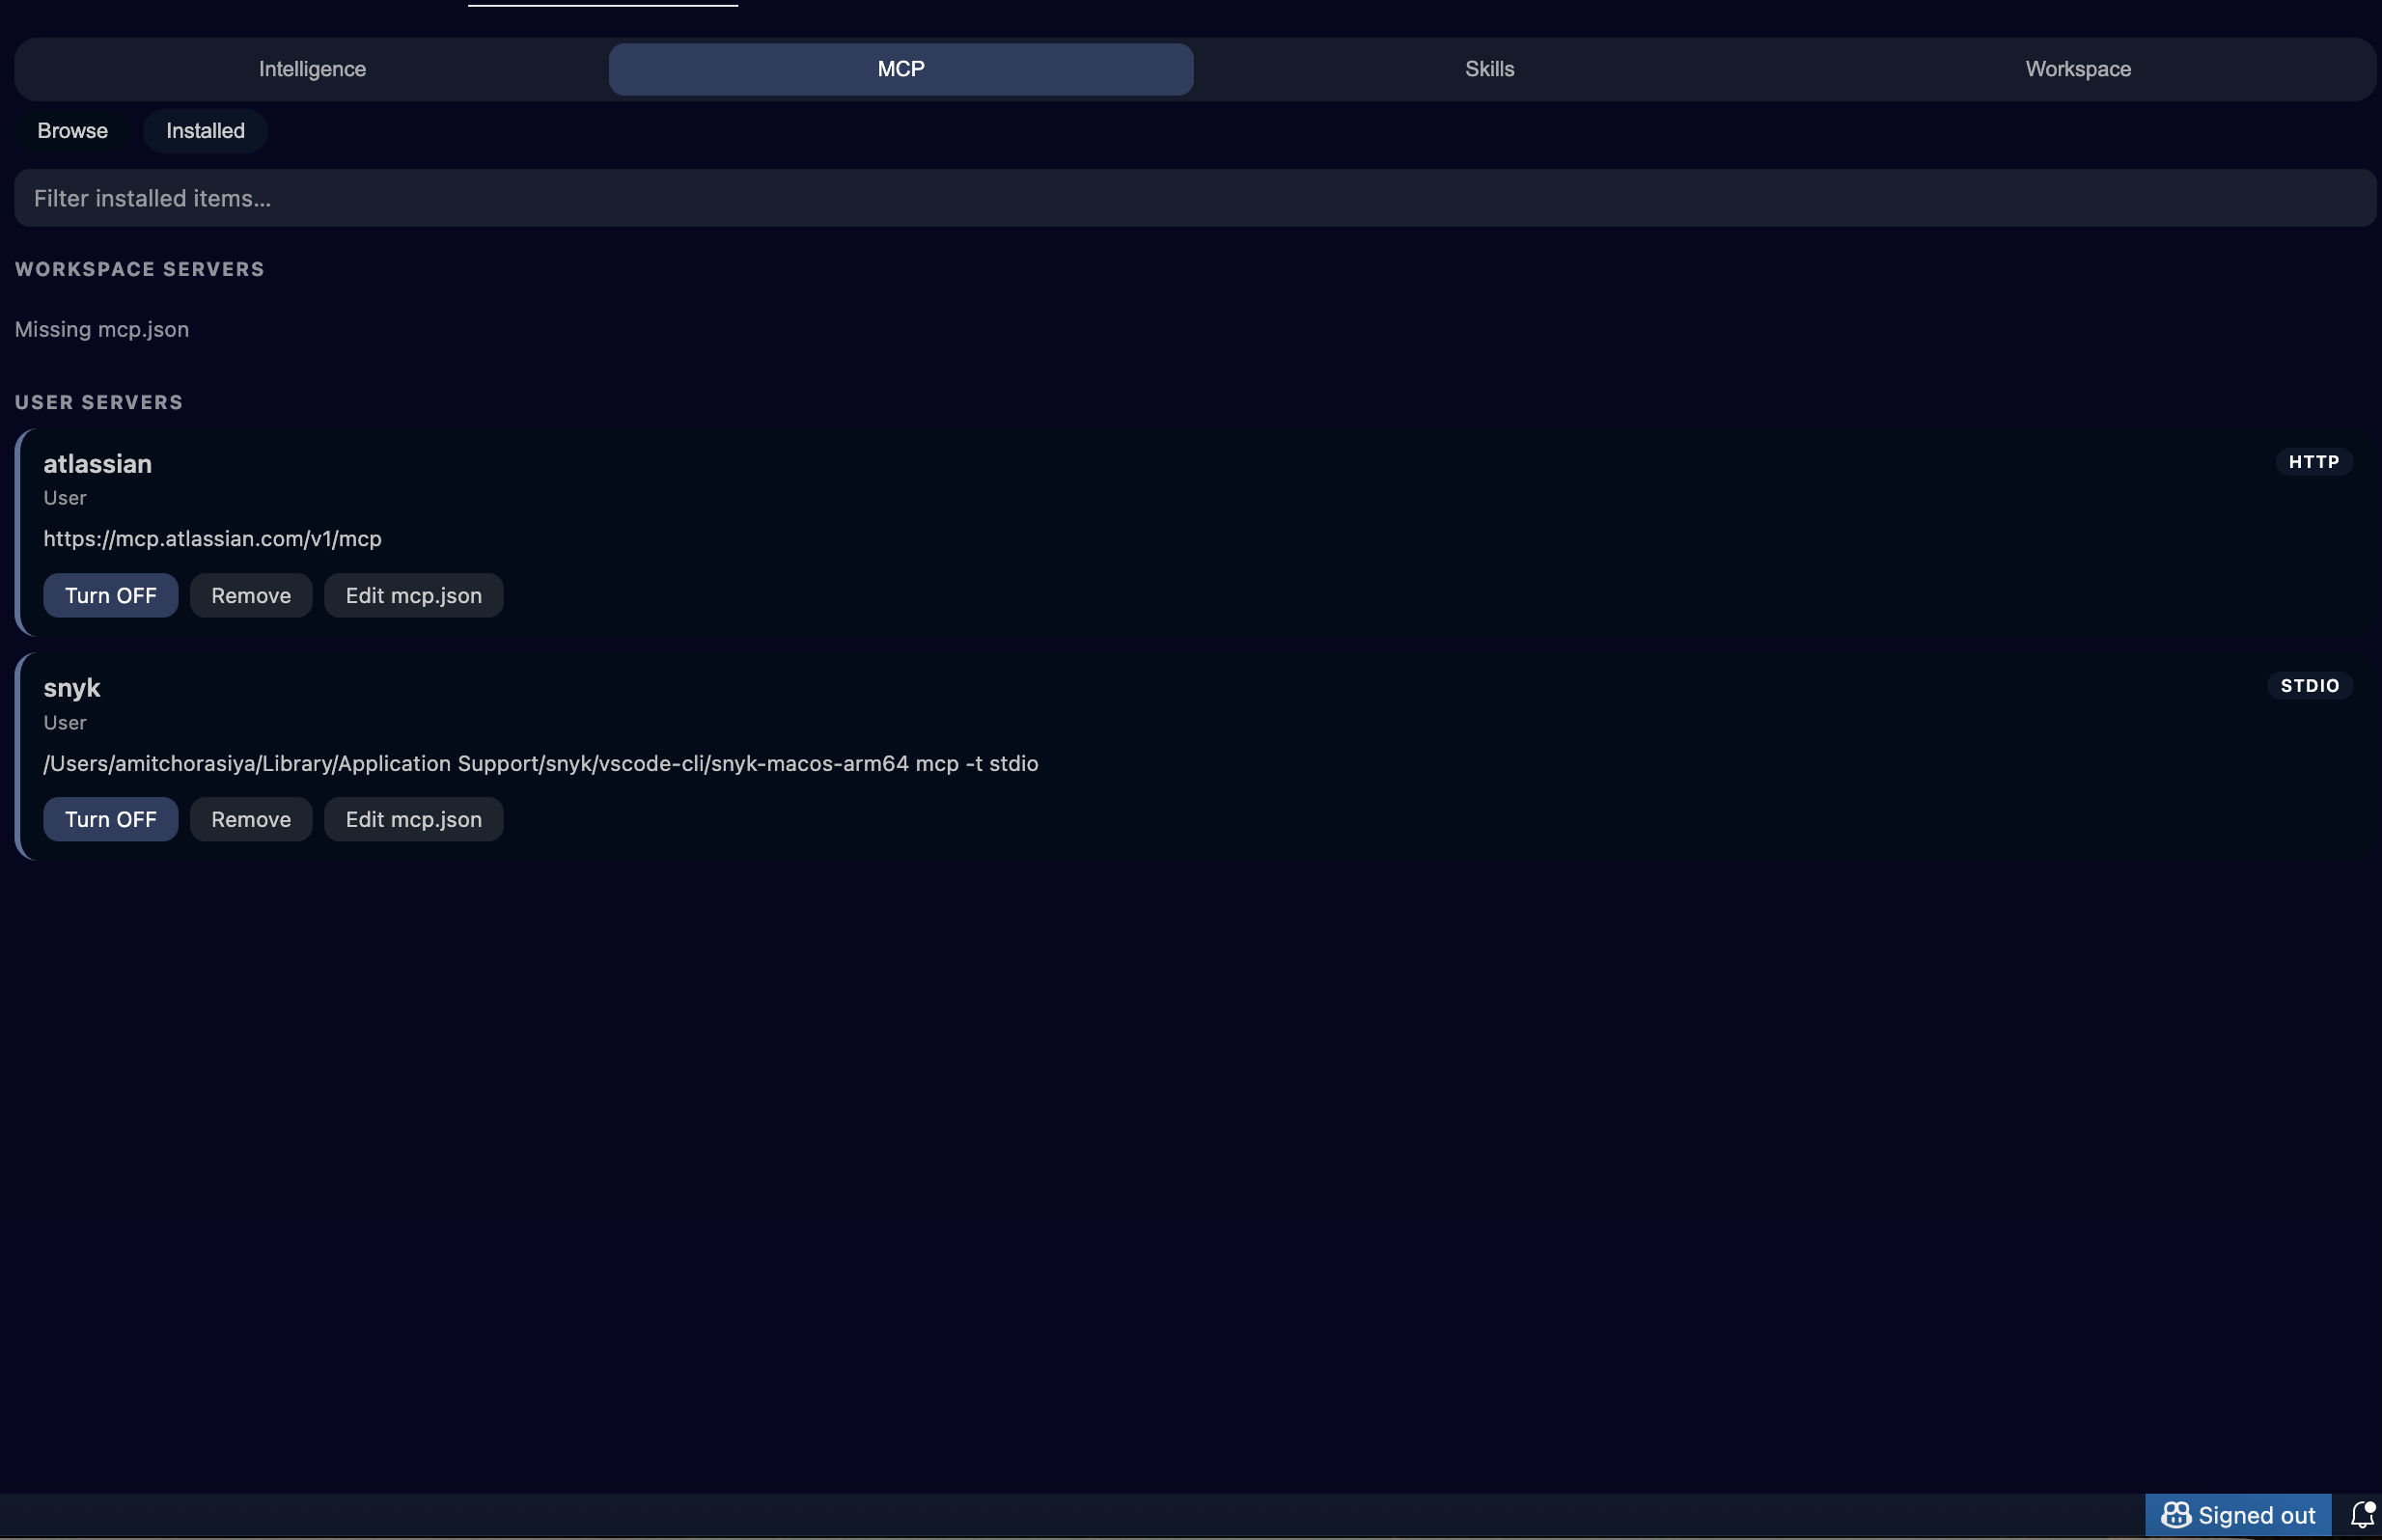
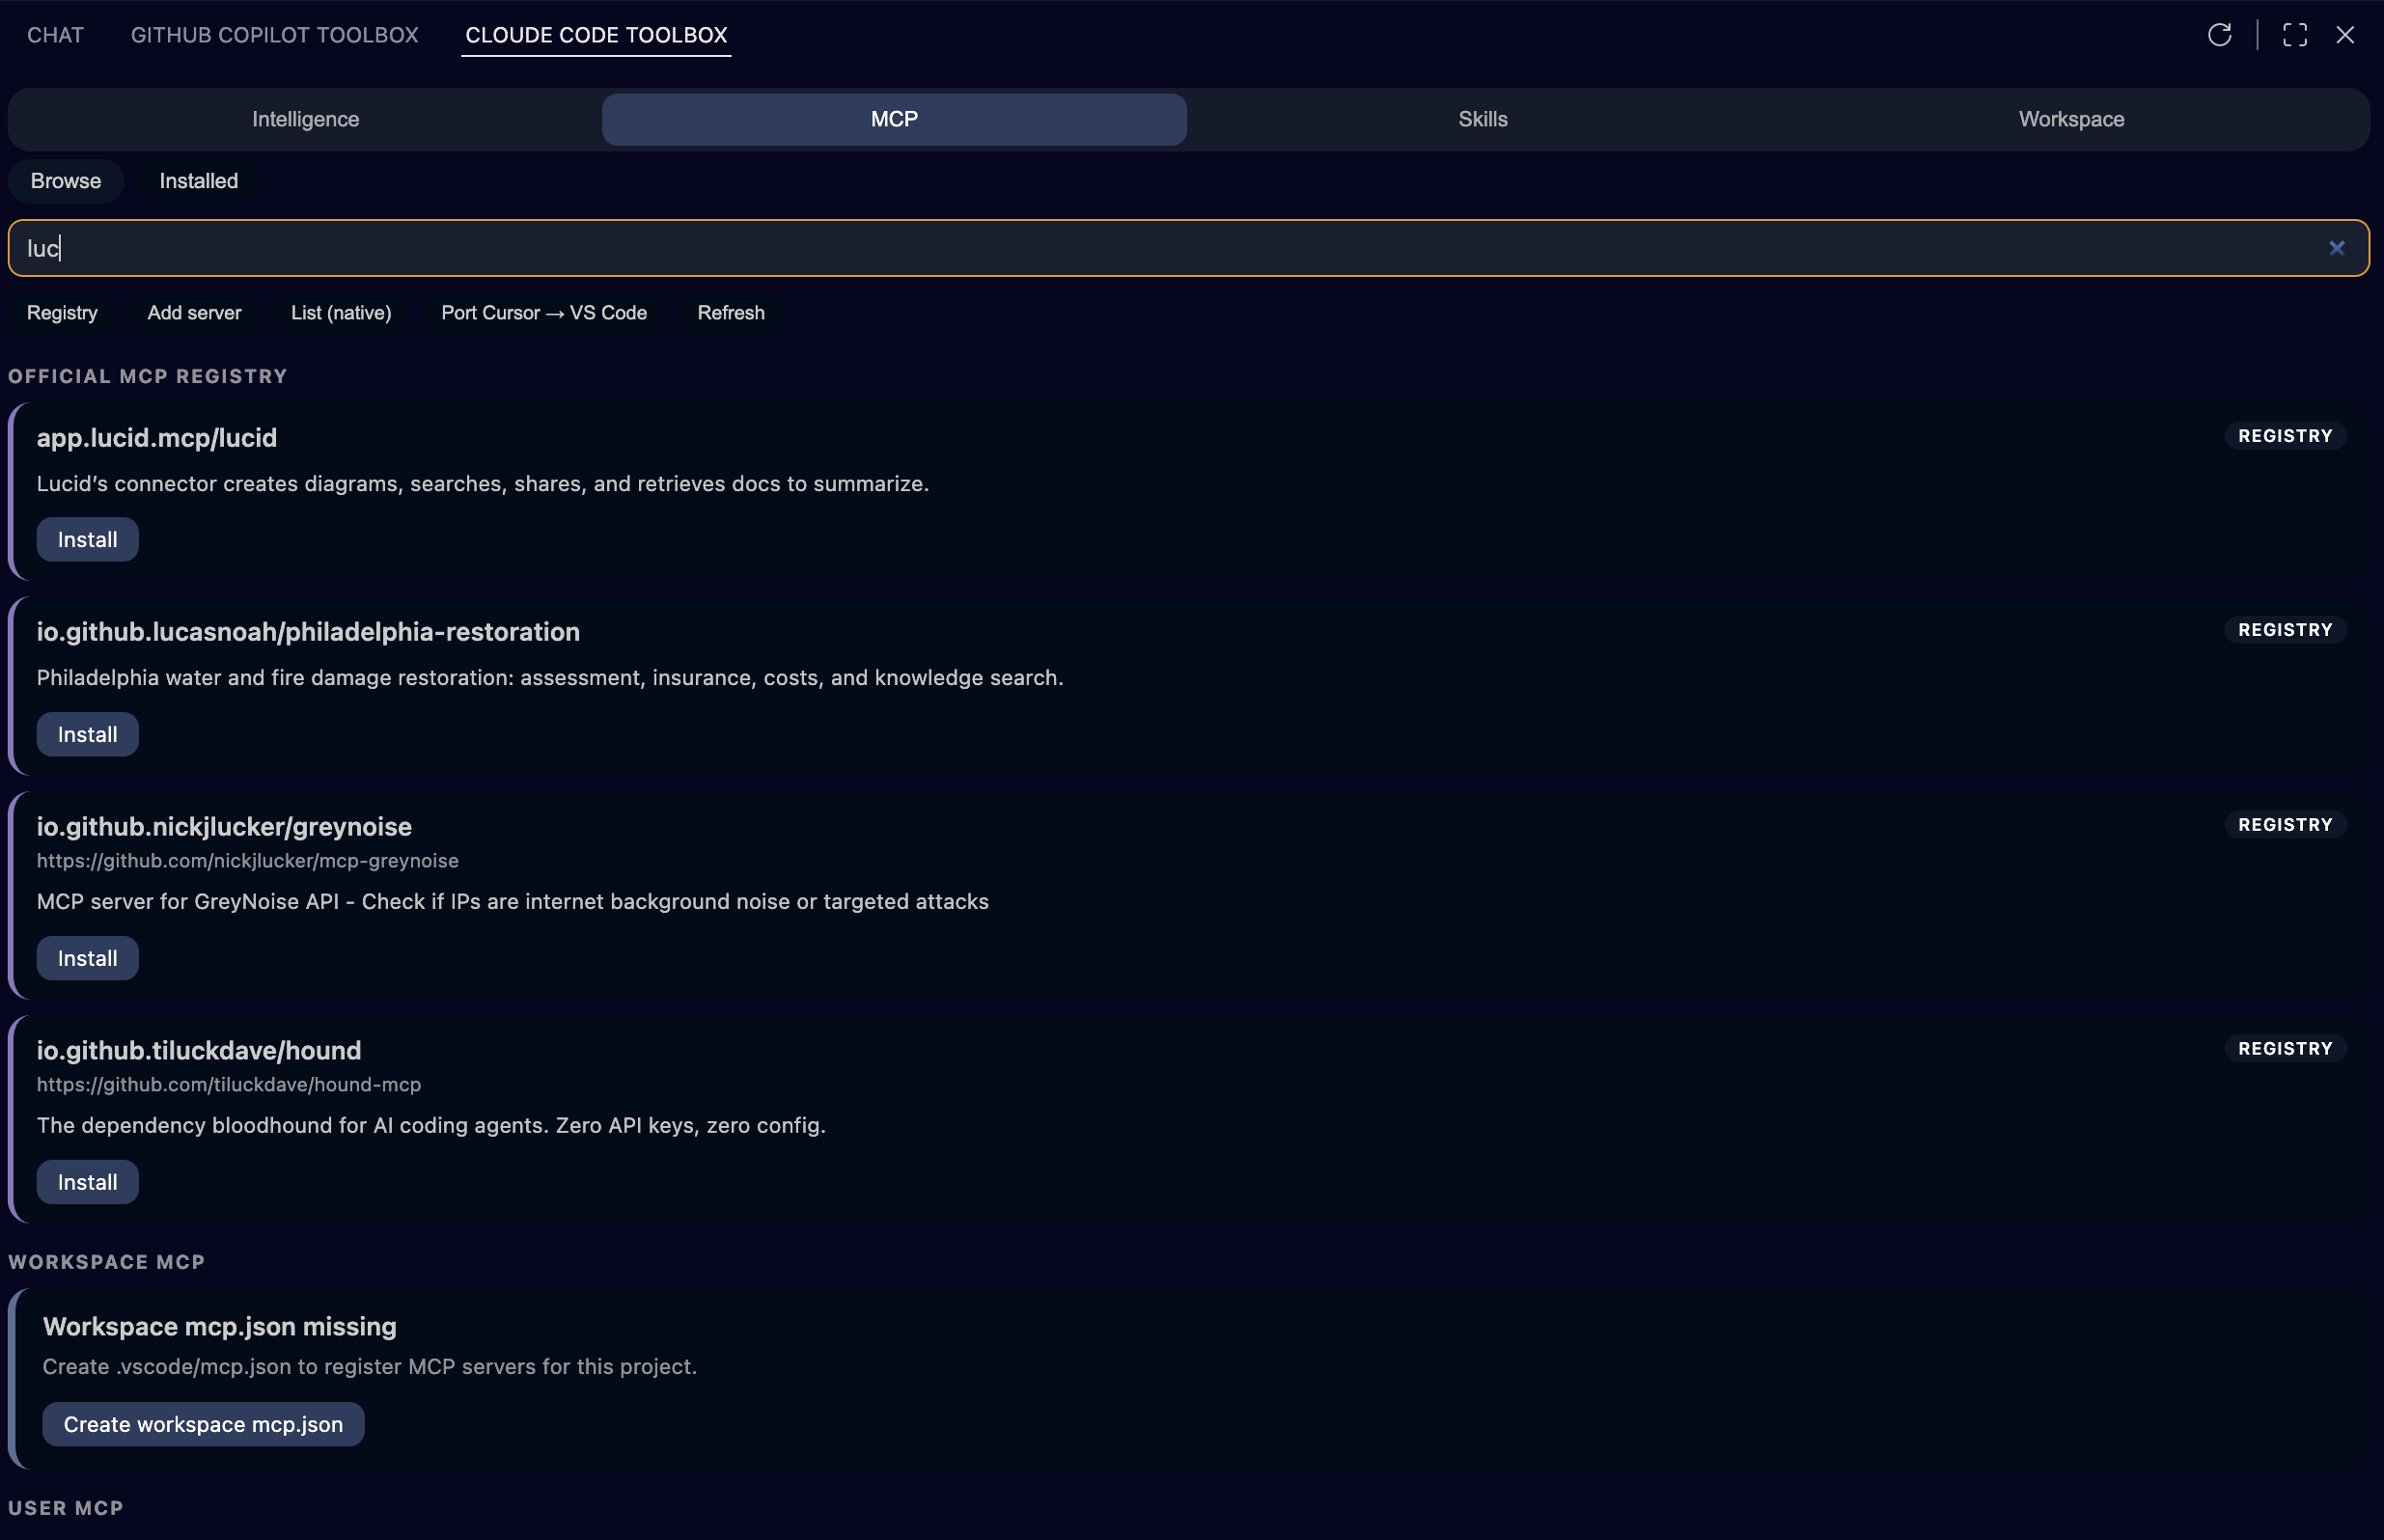
Browse MCP registry and skills catalogs, see what’s installed, fewer raw JSON edits by hand.
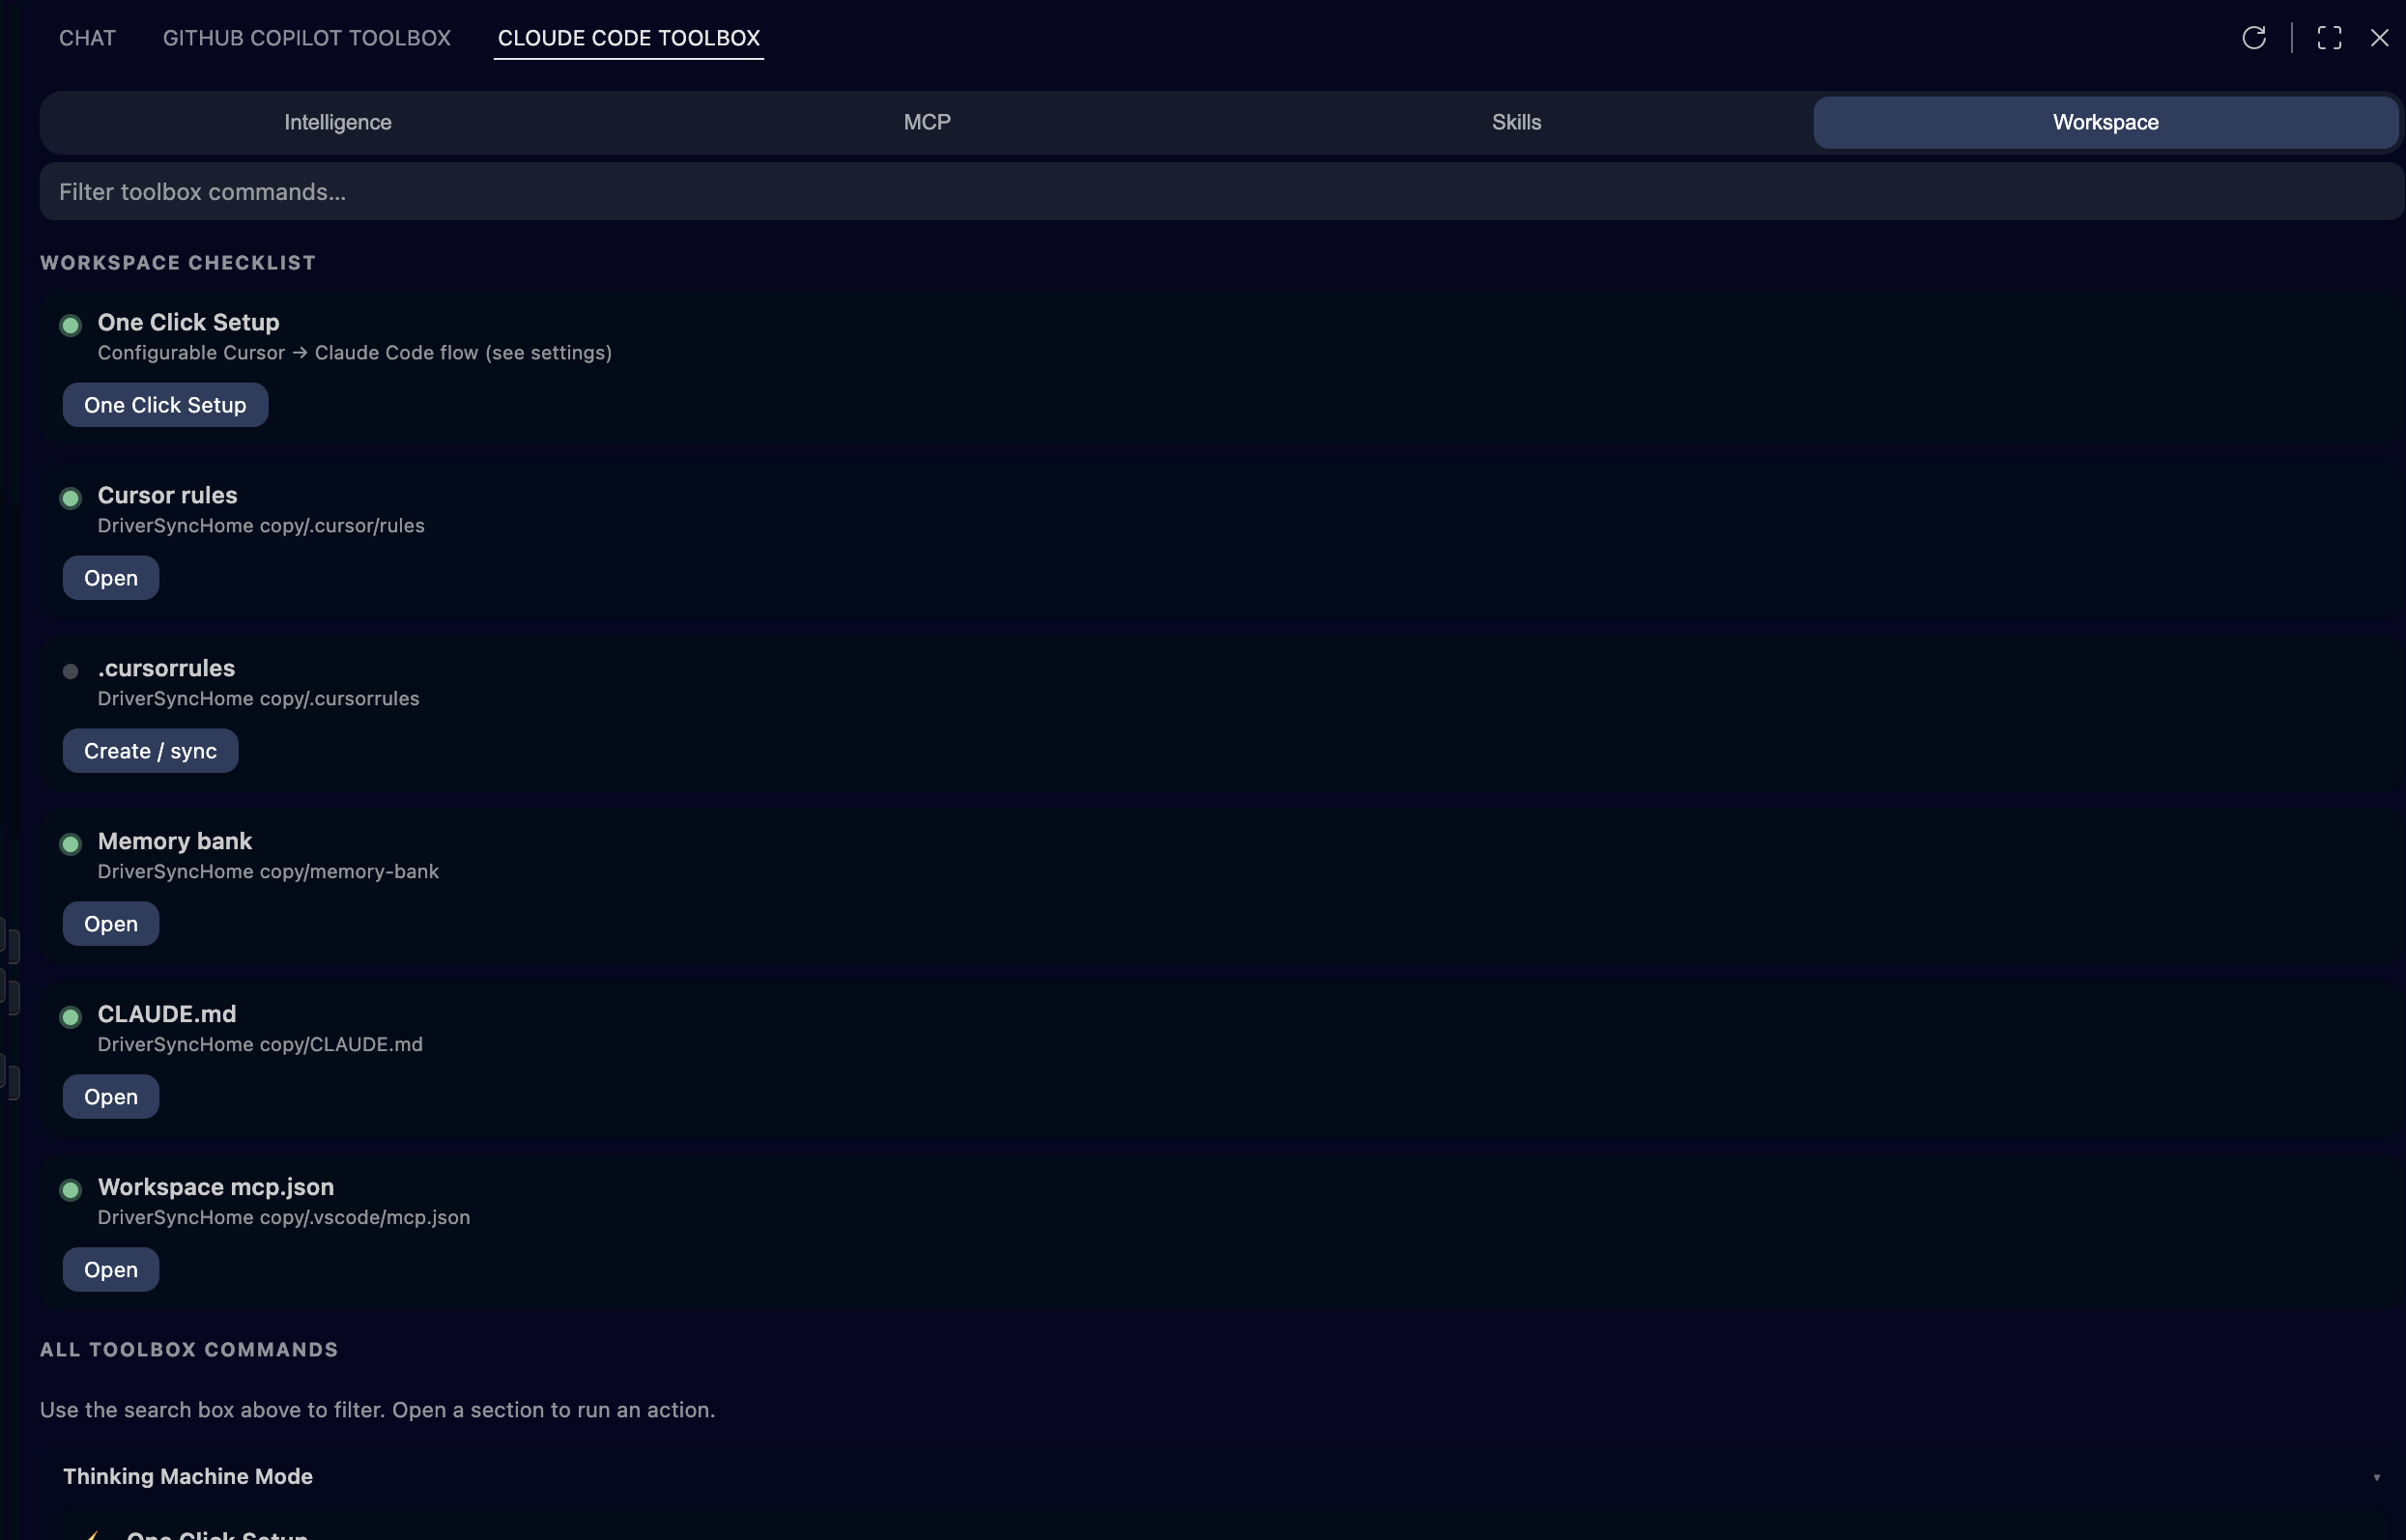
Workspace vs personal setup, local skill folders, rules, CLAUDE.md, memory bank—aligned with what you shipped.
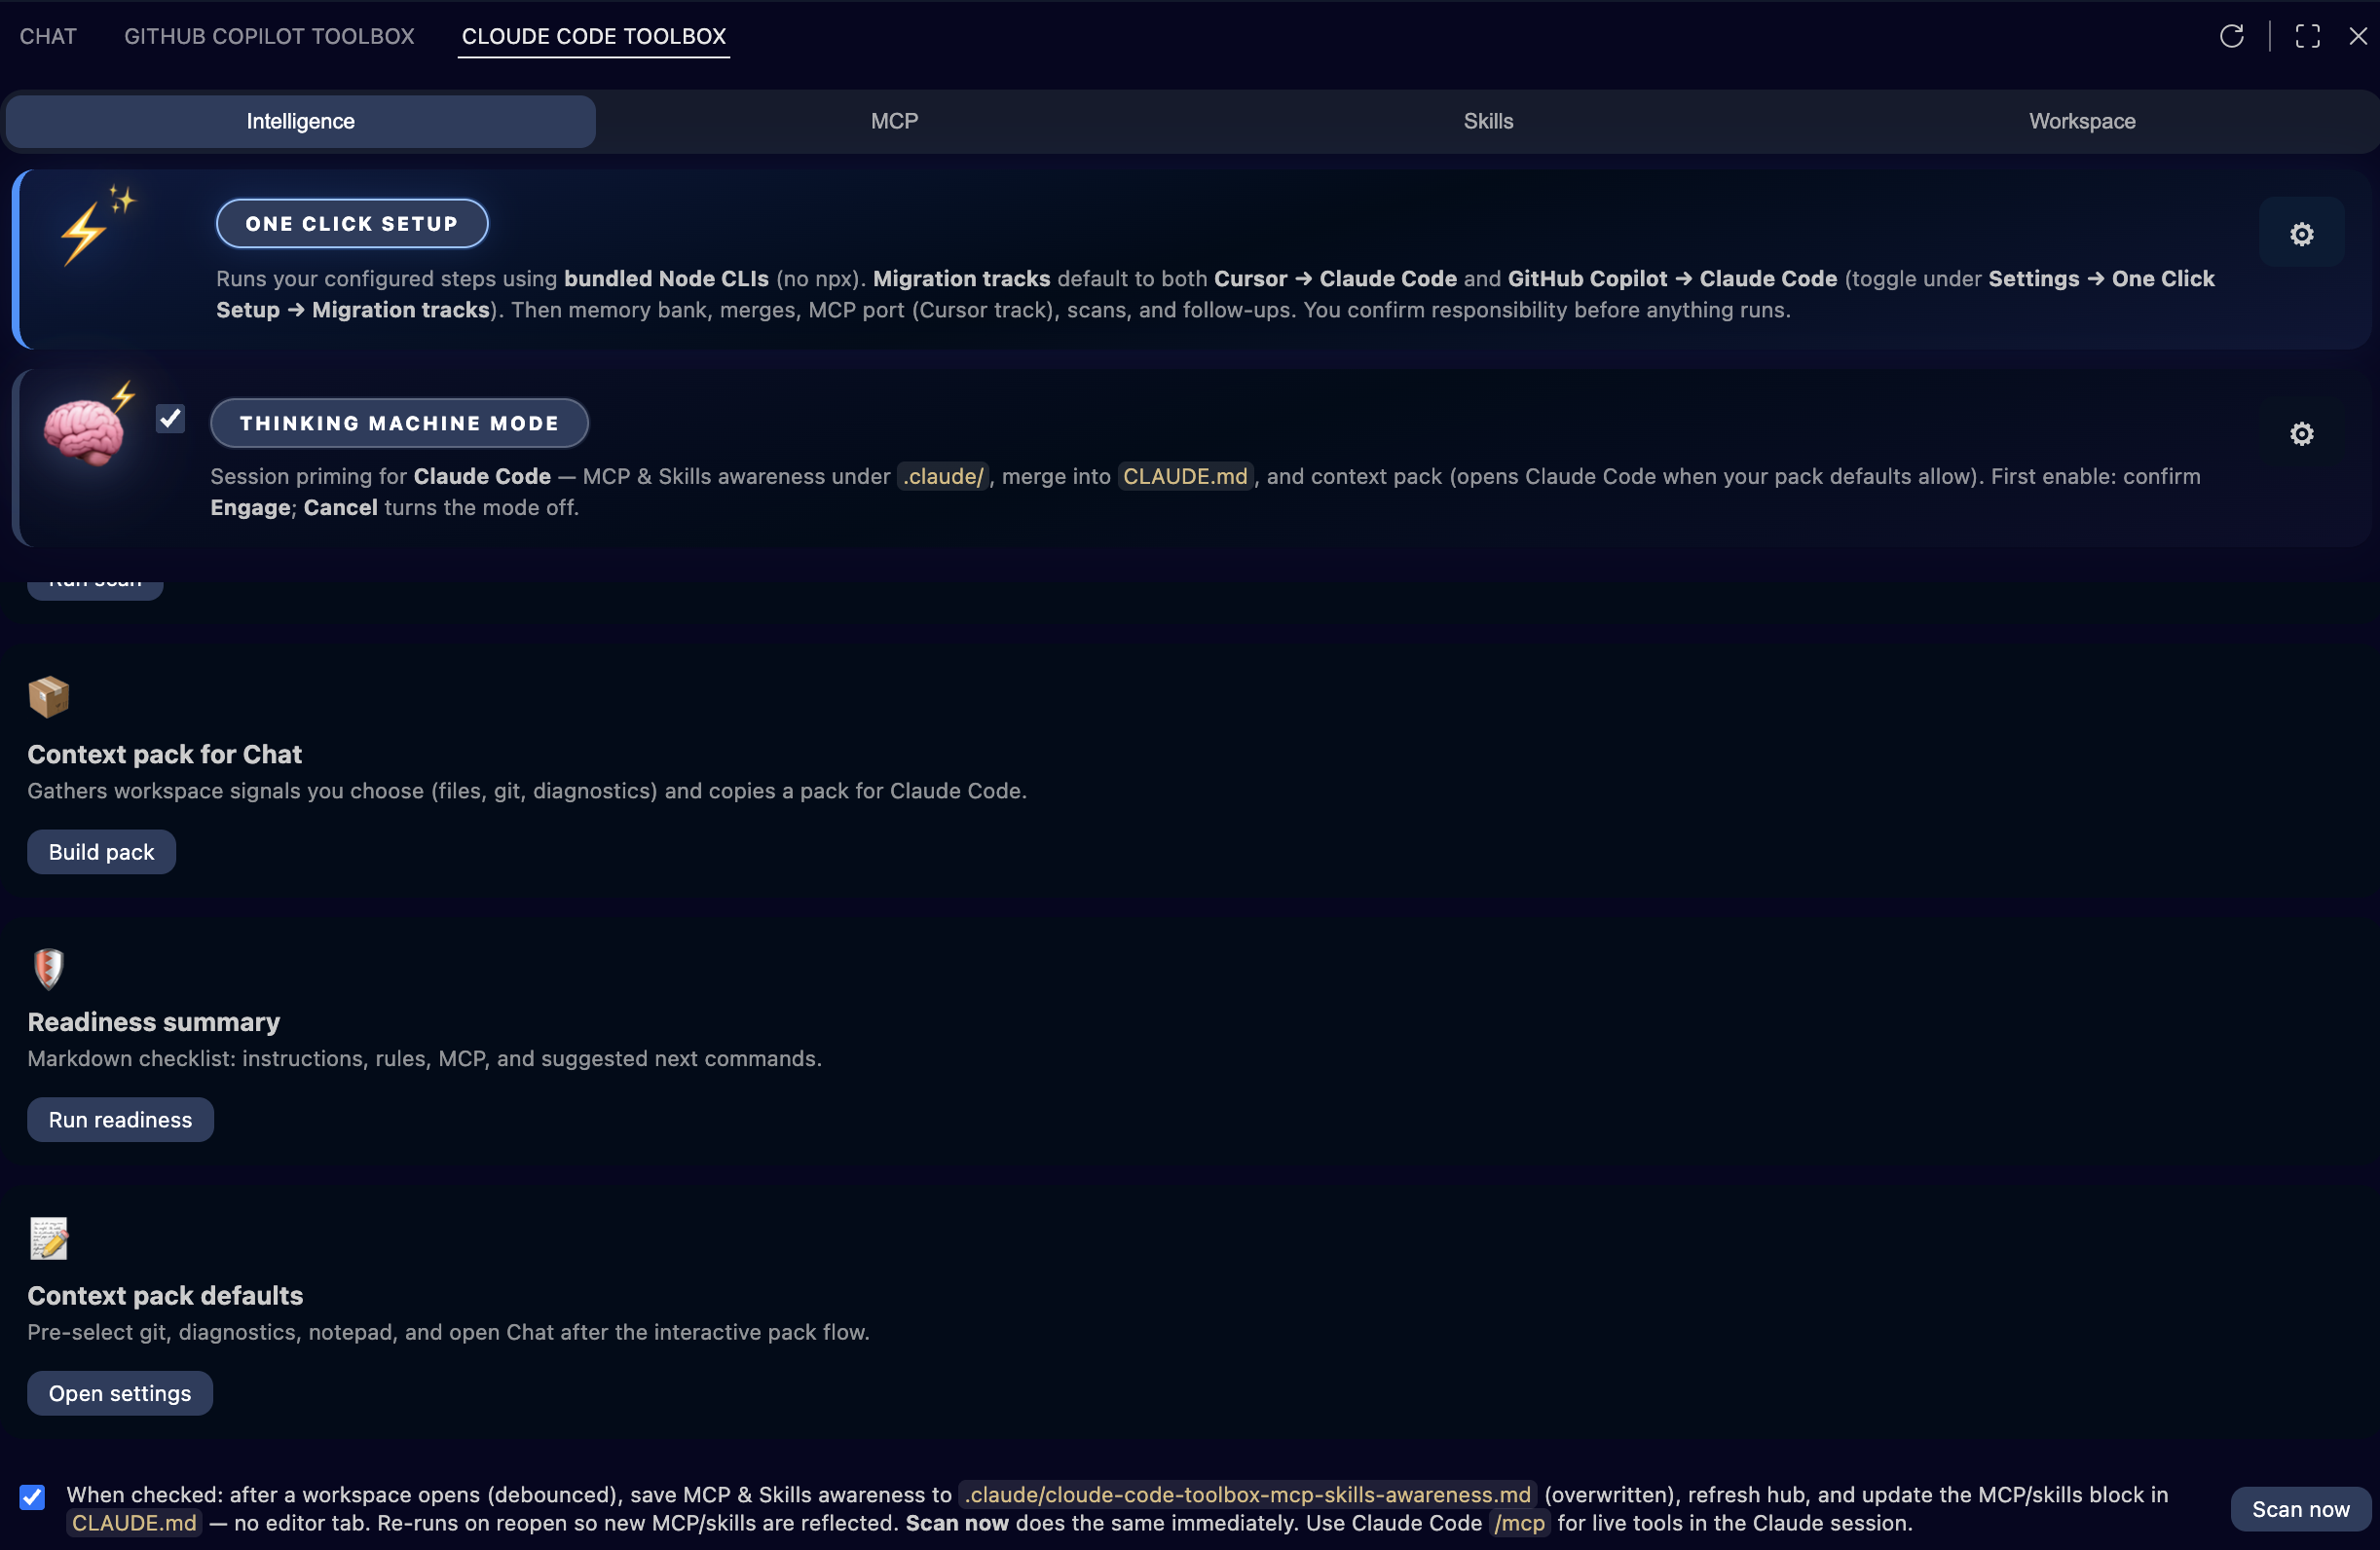
Context packs and readiness flows with explicit choices so teams agree on what Claude Code is allowed to see.
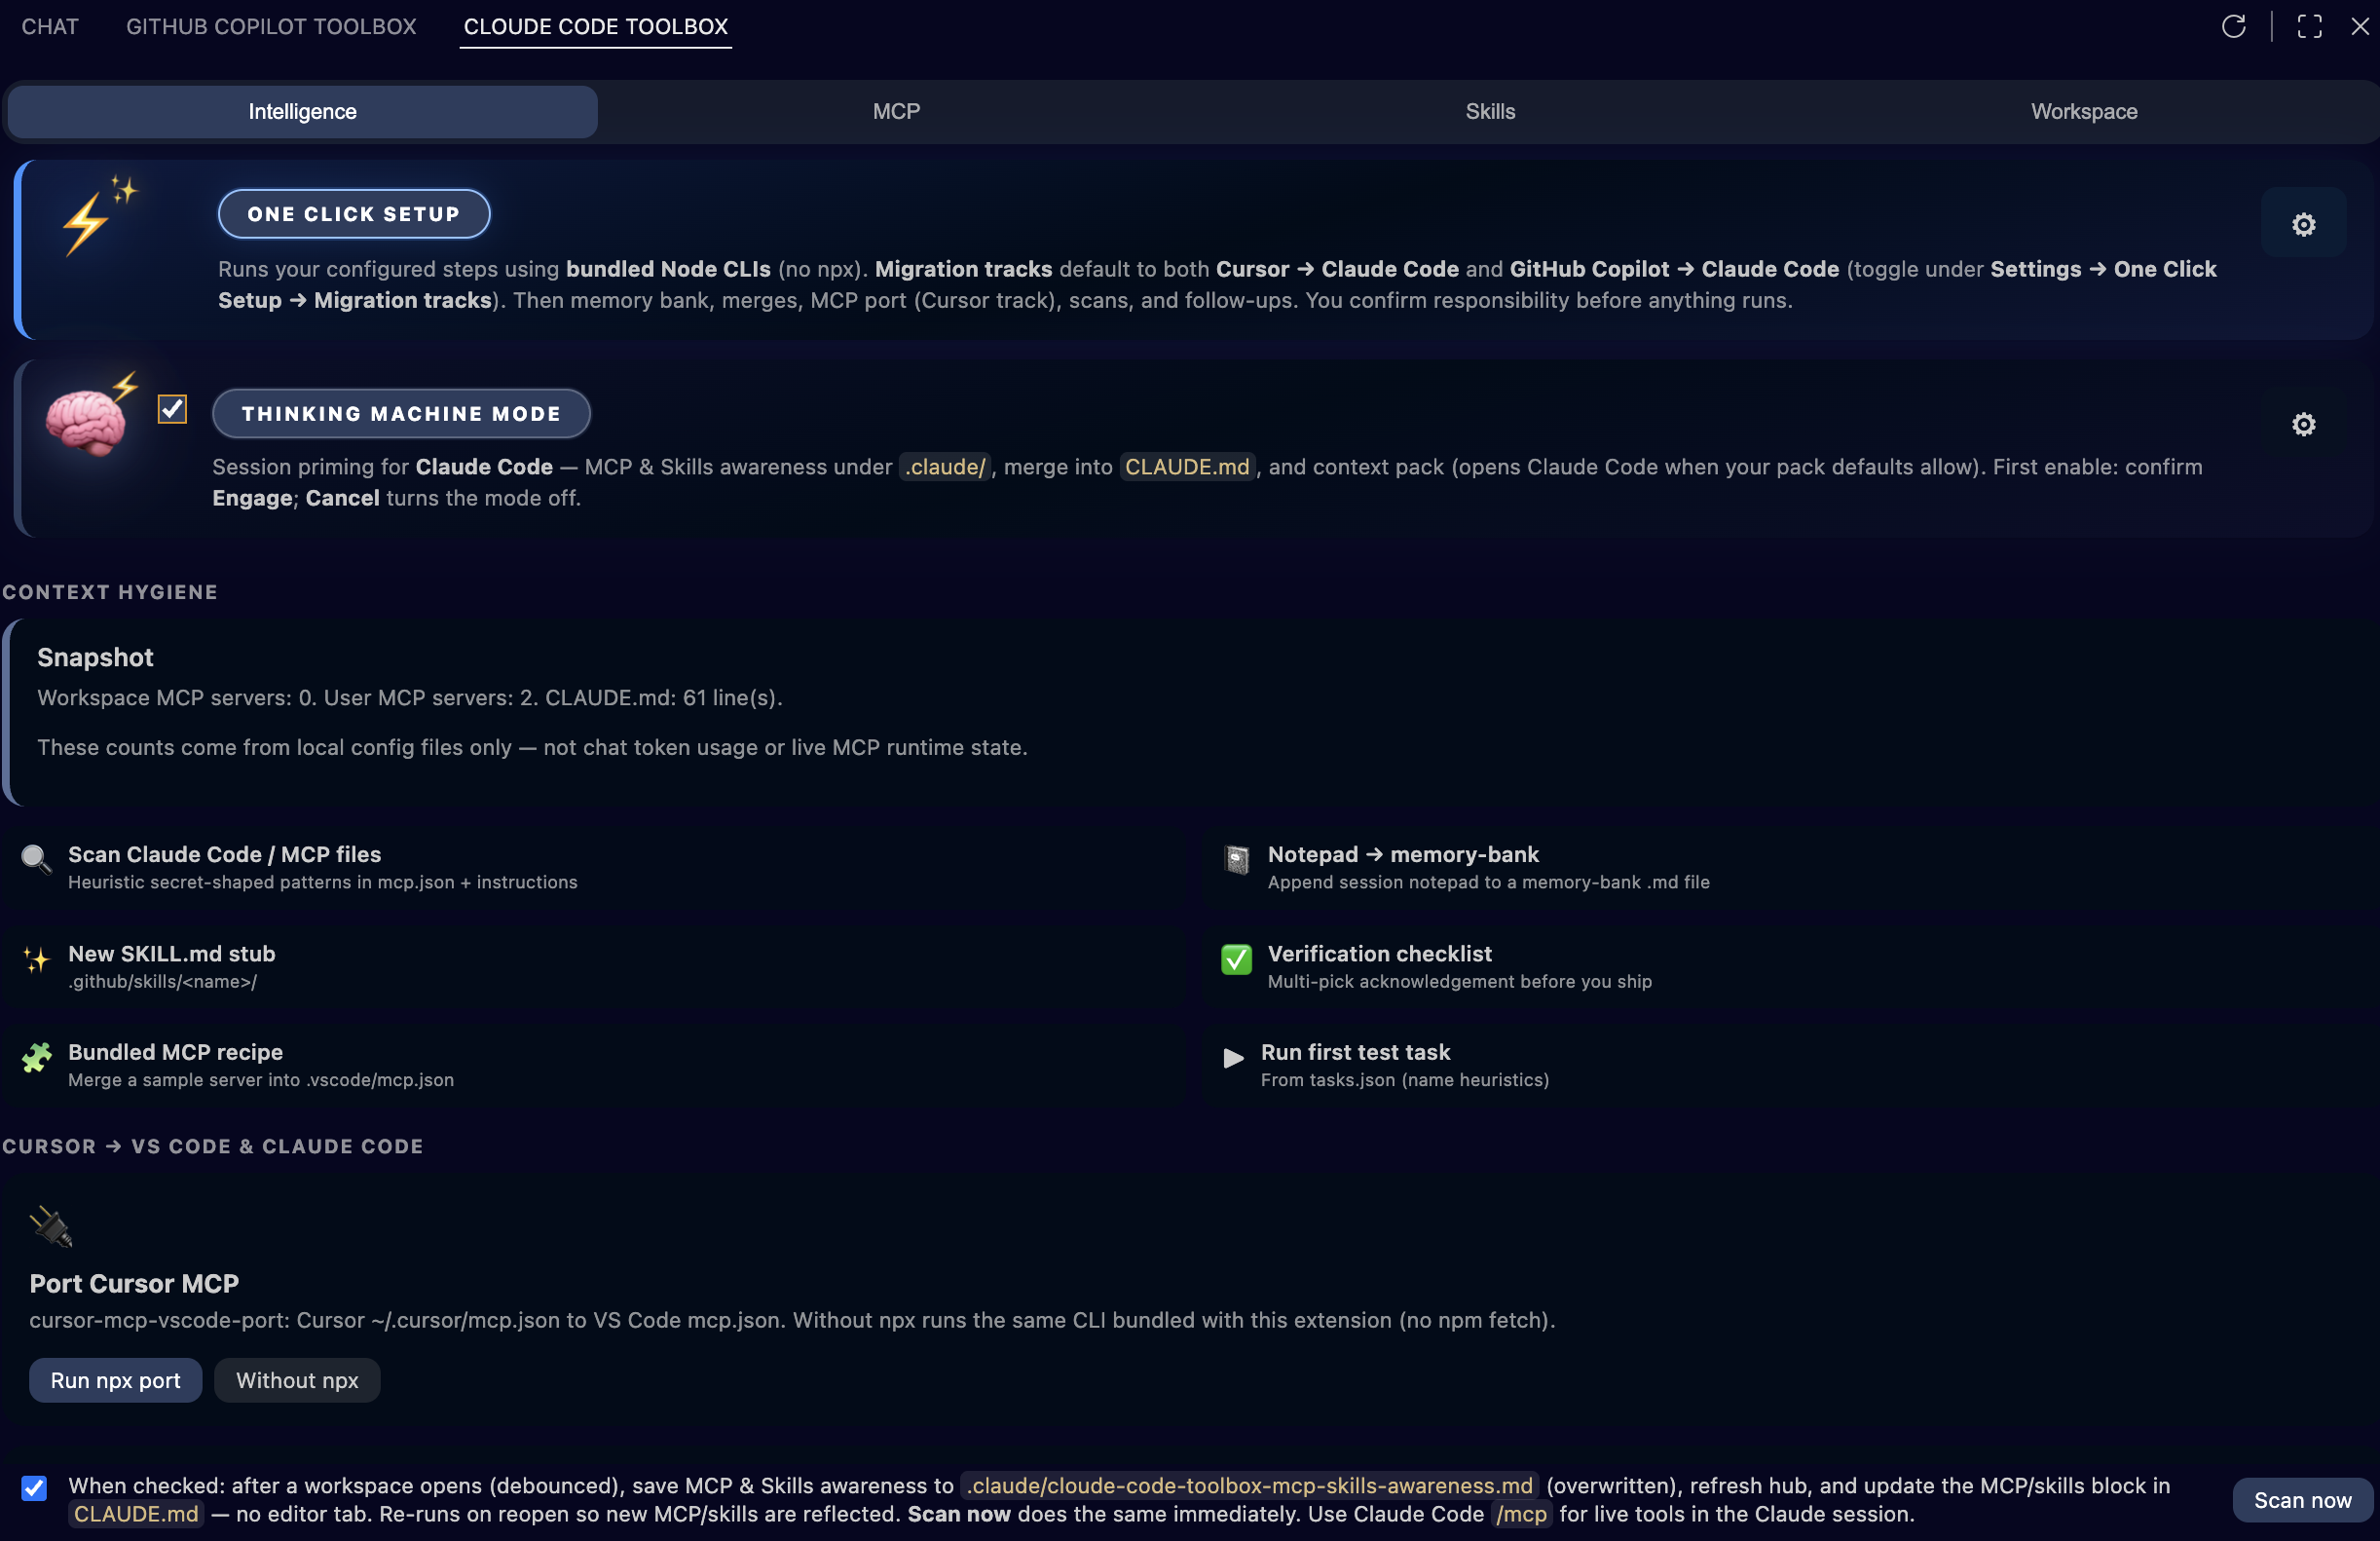
Two highlighted controls on the Intelligence tab turn messy, one-off Claude Code setup into something your team can repeat and reason about.
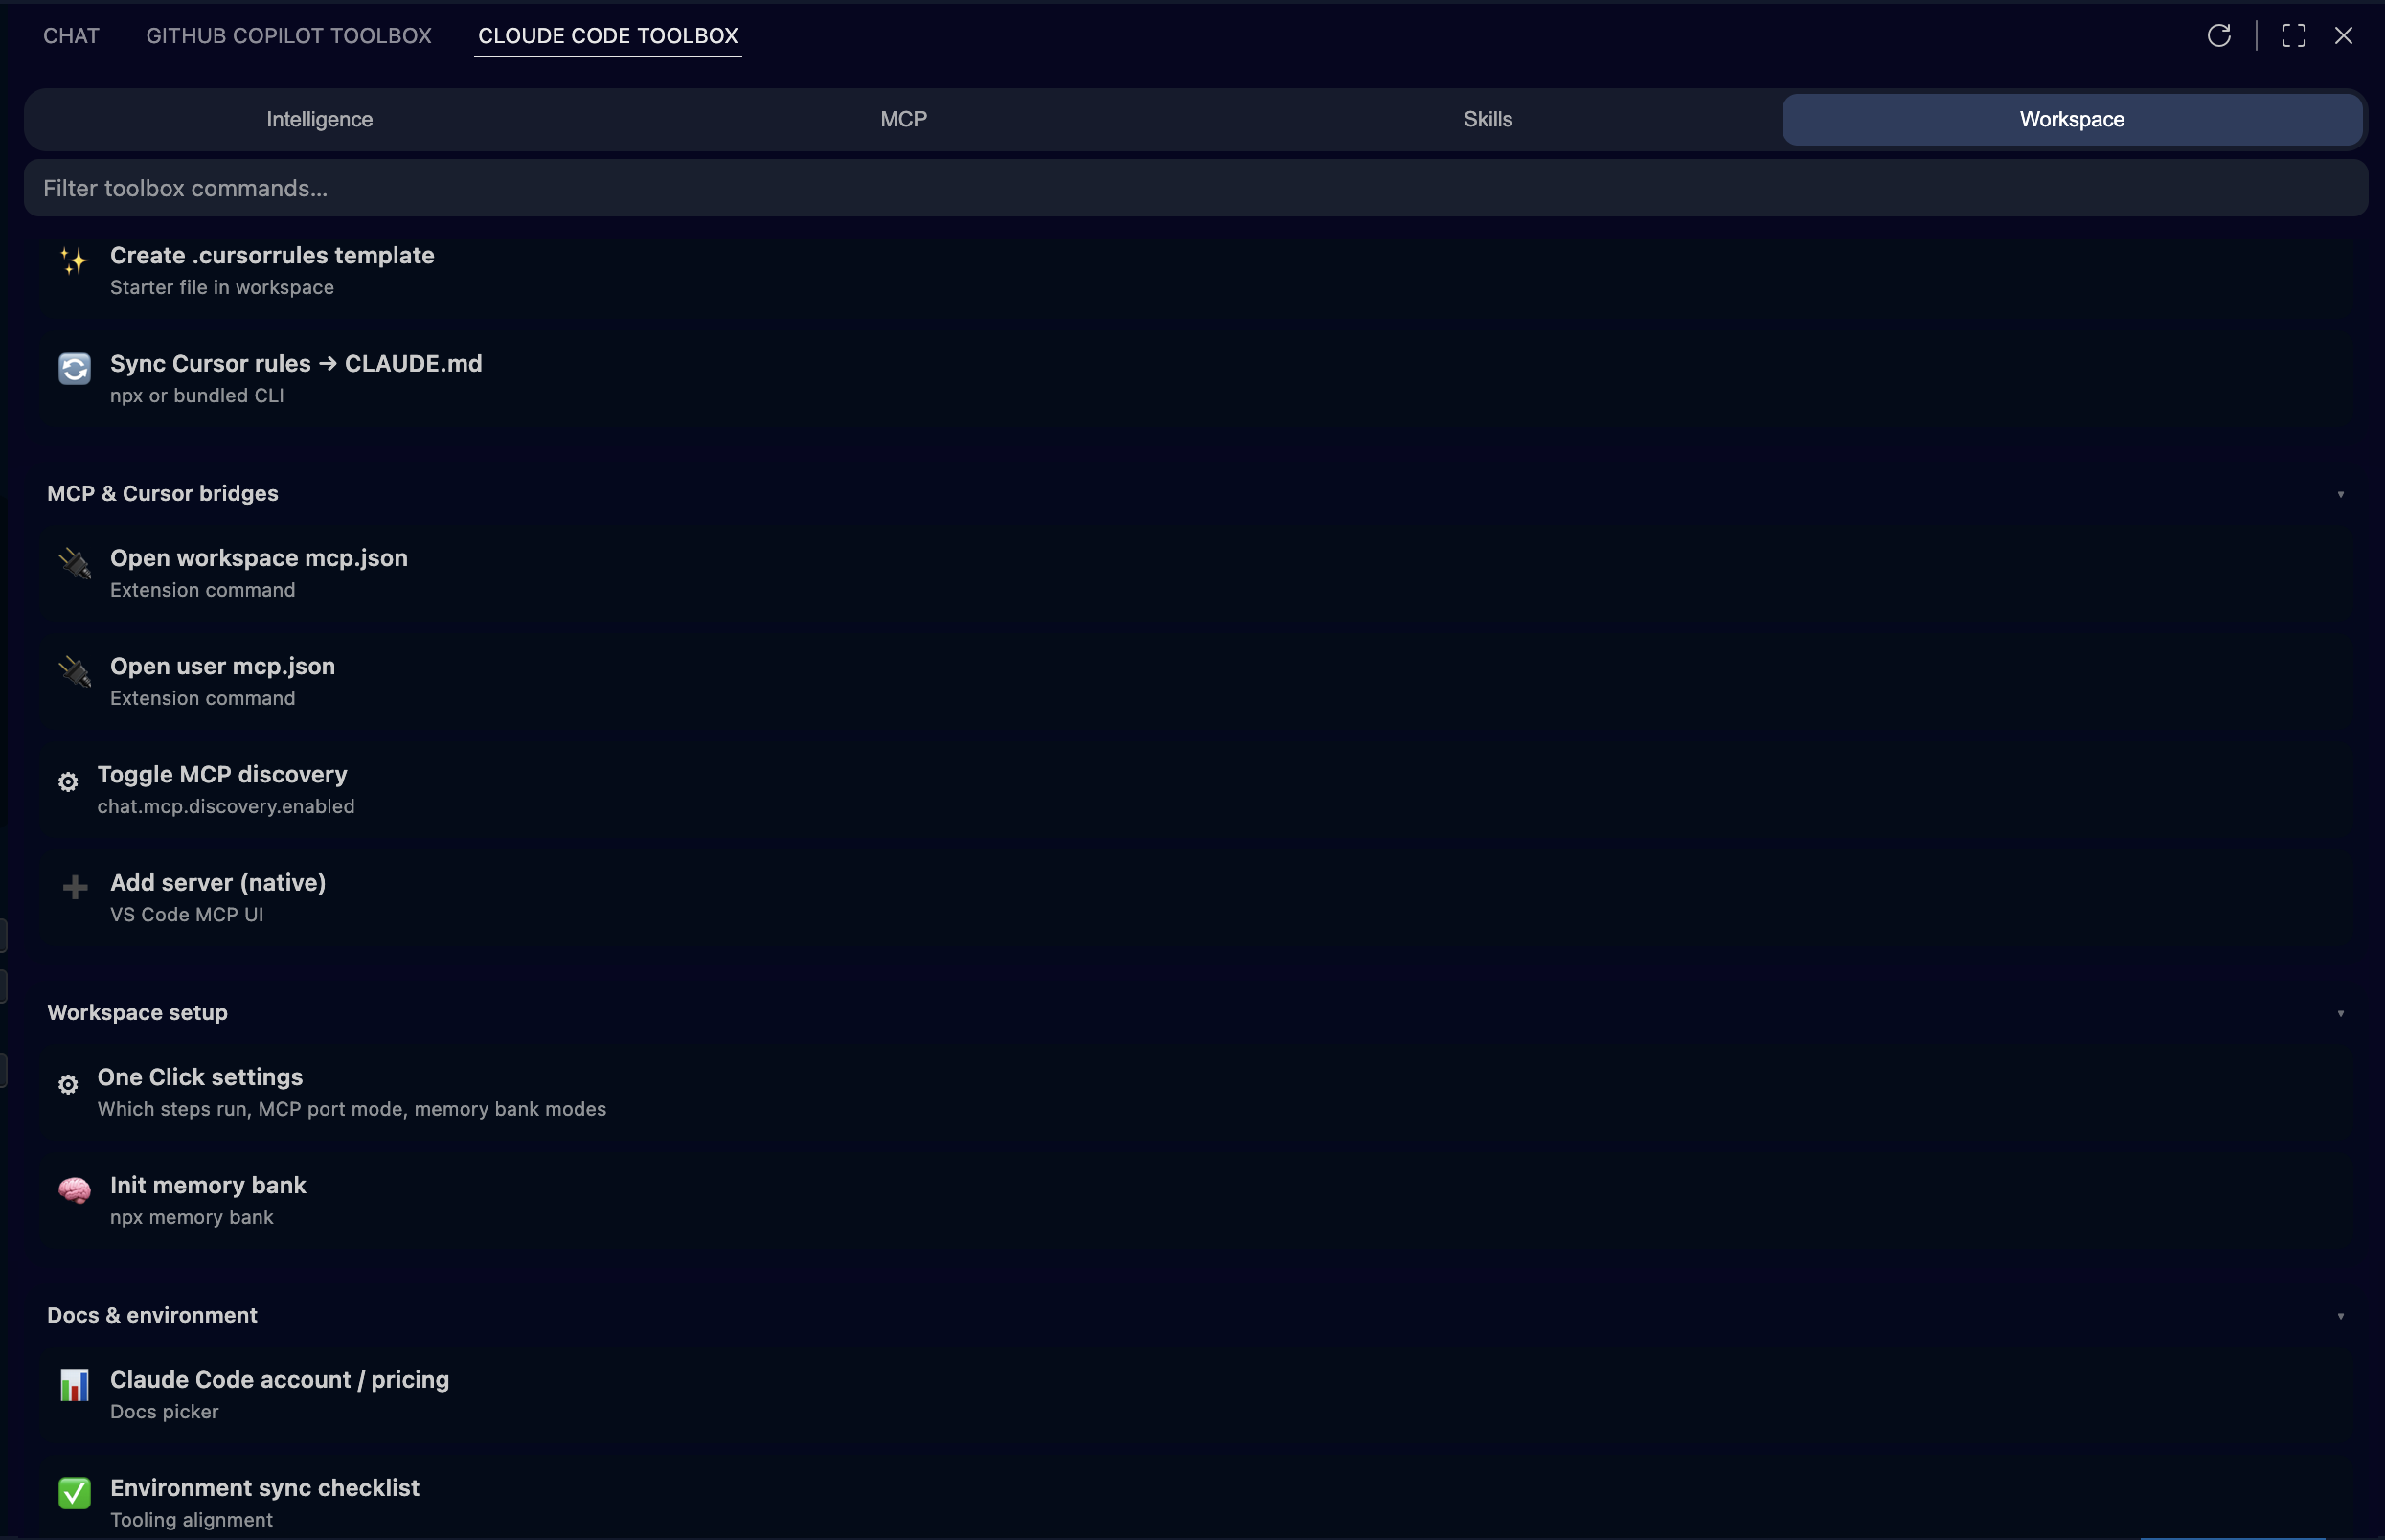
What it does: After you confirm you understand the risk, it runs the sequence you configured in Settings — typically migration tracks for Cursor → Claude Code and optional GitHub Copilot → Claude Code: port Cursor MCP into VS Code
mcp.json, Claude-oriented memory bank init, Cursor rules into CLAUDE.md, optional .cursorrules merge, skills
migration, MCP & Skills awareness (under .claude/) with optional merge into CLAUDE.md, readiness summary, config scan, and follow-ups. Bridges use the
bundled Node CLIs shipped with the extension (no npx fetch).
Why it matters: Onboarding and “make this repo Claude-ready” shouldn’t depend on who remembers which README or which CLI flag. One Click encodes your team’s playbook once, then anyone can execute the same steps and review the same terminals and files.
What it does: A master switch for session priming — optional MCP & Skills awareness (writes under .claude/) plus optional merge into CLAUDE.md, and a
context pack for Claude Code, with settings for confirmations and defaults. The first time you enable it, VS Code asks you to
Engage (or cancel to turn the mode off again). Turning the mode off clears that acknowledgment so the next enable shows the dialog again.
Why it matters: Claude Code works best when sessions start from accurate, explicit context — what MCP servers exist, where skills live, and a structured snapshot of the workspace — not from guesswork. Thinking Machine Mode makes that priming a deliberate, repeatable gesture instead of a forgotten manual step.
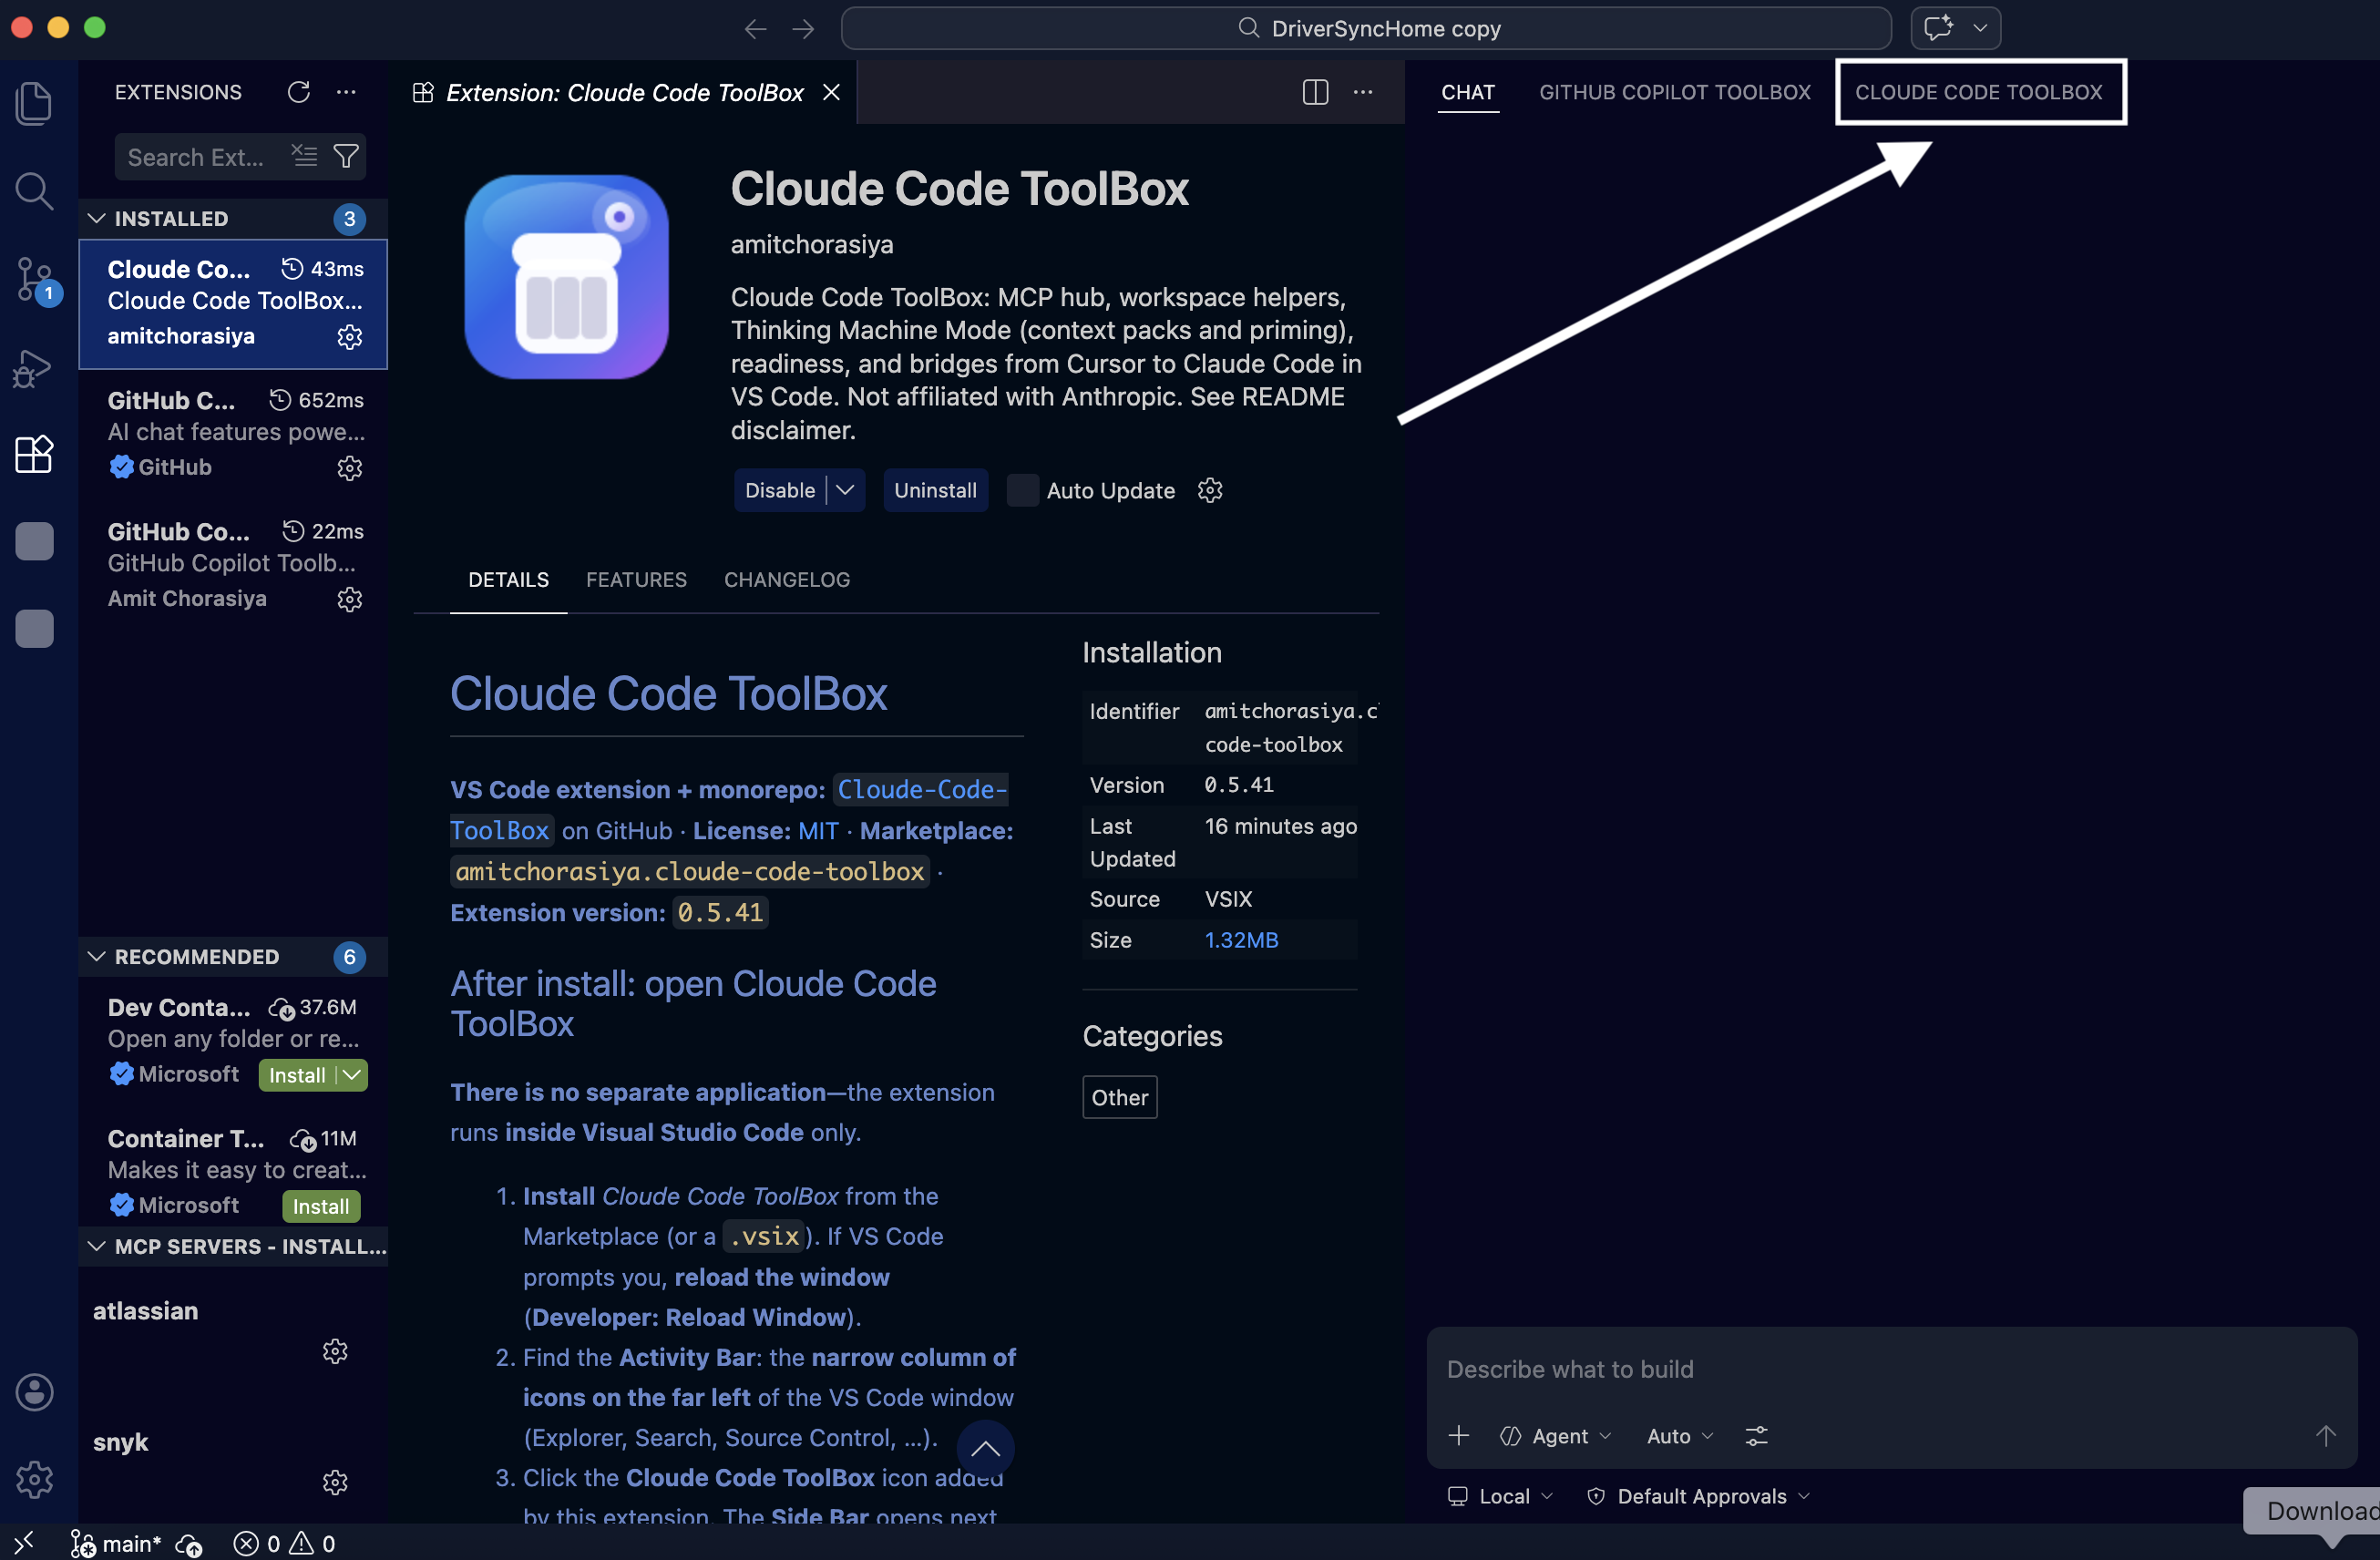
First: after install, open Cloude Code ToolBox in the Activity Bar (left edge), then MCP & skills in the Side Bar—that is the hub. Below: access walkthrough, then high-resolution hub captures. Click any image for fullscreen.


In the Marketplace, search for Cloude Code ToolBox (MCP, Skills, Cursor/Copilot → Claude) or use the buttons below. After install, open Cloude Code ToolBox in the activity bar, then MCP & skills.
Install in VS CodeVS Code did not open? Open the Marketplace in your browser instead.
code --install-extension amitchorasiya.cloude-code-toolbox-vscode